

Understanding Vapor Barrier Installation
What is a Vapor Barrier?
A vapor barrier is a physical barrier, typically made of plastic or foil, that is used to control the movement of moisture vapor in the soil or air into and out of the enclosed spaces of a home, such as crawl spaces and basements. It acts as a protective layer against moisture that can lead to structural damage, mold growth, and other serious issues. These barriers are crucial in areas with high humidity or frequent moisture exposure.
Importance of Vapor Barrier Installation
Vapor barrier installation is a critical home maintenance task that should not be overlooked. Moisture infiltrating your home can cause significant damage, including rotting wood, rusting metal, and deteriorating insulation. Beyond physical damage, excess moisture fosters a conducive environment for mold and mildew growth. Properly installed vapor barriers can help mitigate these risks by preventing moisture from penetrating vital structural components. In addition, effective vapor barrier installation contributes to improved indoor air quality, which is essential for maintaining a healthy living environment.
Key Materials for Installation
When it comes to vapor barrier installation, selecting the right materials is essential for optimal performance. The most commonly used materials include:
- High-Density Polyethylene (HDPE): Highly durable and resistant to punctures, making it a preferred choice.
- Polyethylene Film: Typically available in varying thicknesses; thicker films offer greater moisture resistance.
- Polypropylene: More expensive but offers superior durability and UV resistance.
Choosing the right material often hinges on the specific conditions of your crawl space and climate, along with any local building codes that may apply. For professional assistance with your Vapor Barrier Installation, consulting an expert is advisable.
Steps for Successful Vapor Barrier Installation
Preparing the Crawl Space
Preparation is key to a successful vapor barrier installation. Begin by clearing the crawl space of any debris, including old insulation, trash, and other materials. Next, assess any existing moisture issues — this might include checking for standing water or damp soil. It’s advisable to correct any drainage issues before installing the barrier. Proper ventilation can also play a significant role in reducing humidity levels in the crawl space.
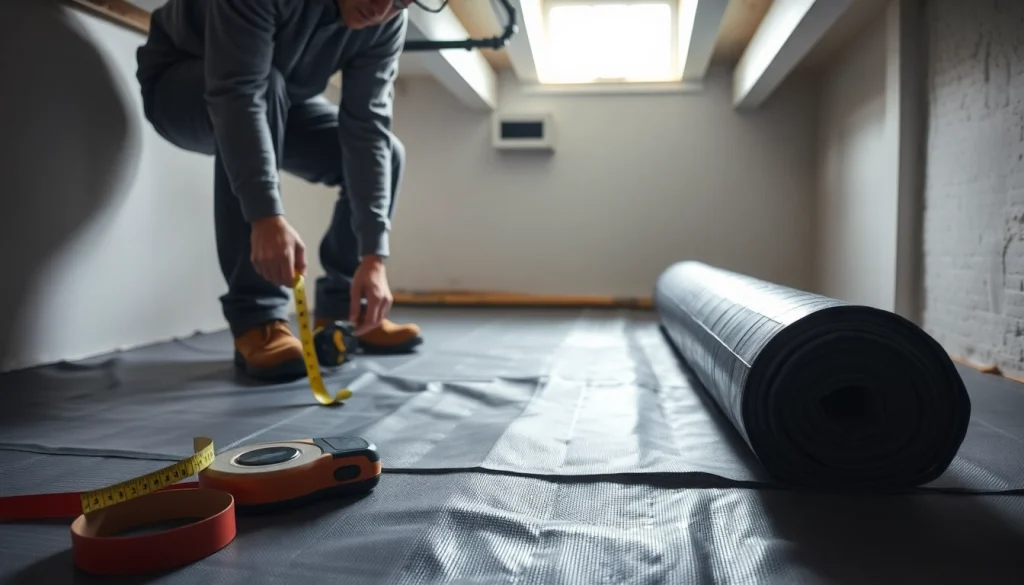
Measuring and Cutting the Barrier
Once the area is prepared, it’s time to measure the space to cut the vapor barrier accurately. Measure the dimensions of your crawl space, including length and width, and add several extra inches to each side for overlap. When cutting, ensure that the plastic is thick enough to withstand wear and tear. Use a utility knife or scissors for clean cuts. This step is vital to ensure that your vapor barrier covers all necessary areas without leaving gaps that can compromise its effectiveness.
Securing the Vapor Barrier
After cutting the correct size, lay down the vapor barrier in the crawl space. Start from one corner and roll it out toward the opposite end, ensuring that it lies flat without wrinkles. Overlapping the seams by at least 12 inches is crucial to creating a continuous barrier against moisture. Use duct tape to secure all seams and edges, ensuring a complete seal. Additionally, consider using ground fasteners or anchors to hold the barrier in place, especially in areas where the barrier may be prone to movement.
Common Challenges in Vapor Barrier Installation
Moisture Issues
One of the most significant challenges faced during vapor barrier installation is existing moisture problems. If moisture is present, it must be addressed before installing the barrier. This might involve using a dehumidifier, correcting drainage issues, or sealing cracks in walls and floors to prevent further moisture ingress.
Improper Sizing
A common mistake when installing a vapor barrier is incorrect sizing. If the barrier is too small, it won’t cover the necessary area, leading to gaps and allowing moisture to intrude. It’s vital to measure accurately and allow extra material for lapping. Preparing for the unexpected by cutting additional strips for future repairs can save time and hassle down the line.
Material Failure
Choosing low-quality materials can result in premature failure of the vapor barrier. Over time, cheaper materials may degrade, puncture, or tear due to environmental stresses. It’s essential to invest in high-quality materials that are designed for long-term use in crawl space environments.
Benefits of Vapor Barrier Installation
Energy Efficiency Gains
One of the primary benefits of installing a vapor barrier is improved energy efficiency. By preventing moisture infiltration, your home’s HVAC system doesn’t have to work as hard to maintain a consistent temperature, resulting in lower energy bills. The added insulation from the vapor barrier can also improve comfort levels throughout your home.
Protection from Mold and Mildew
Mold and mildew thrive in damp environments. By installing a vapor barrier, you significantly reduce the risk of these fungi taking hold in your crawl space. This not only protects your home’s structural integrity but also promotes a healthier environment for you and your family.
Enhanced Home Stability
A properly installed vapor barrier contributes to overall home stability. Moisture can weaken the foundation and framing over time, leading to costly repairs. By controlling moisture levels, a vapor barrier helps maintain the structural integrity of your home, ensuring it stays safe and sound for years to come.
FAQs about Vapor Barrier Installation
How do I know if I need a vapor barrier?
If your crawl space is prone to moisture or has mold, a vapor barrier is essential to protect your home.
What materials are best for vapor barriers?
High-density polyethylene is preferred for its durability and moisture resistance.
Can I install a vapor barrier myself?
Yes, with the right tools and preparation, many homeowners can handle the installation.
How long does a vapor barrier last?
Quality vapor barriers can last 20 years or more if properly installed and maintained.
What are the signs of a failing vapor barrier?
Look for excess moisture, mold growth, or visible damage to the barrier itself as signs of failure.